WordPress hosting is dominated by linux-based platform using mostly Apache on Nginx setups. But if you need to run a website from a Windows machine or VPS, IIS is probably the right way to go. Although there are some tweaks that have to be made, you can easily get your WordPress instance running in less than 30 minutes.
Prerequisites:
- Microsoft IIS 7 or higher
- PHP 7 (recommended version)
- MySQL-compatible database
Create a new Site on IIS
Start by creating a new directory for your WordPress website in the default location for IIS websites (usually C:\inetpub\wwwroot\). Download the latest WordPress package from the official website and extract the contents into that directory.
We also need to grant read/write permissions for IIS to the wp-content directory so that WordPress will be able to save and modify files (e.g. when installing plugins or uploading files). Right click on the website directory and open up Properties. Head to Security and click Edit. Then, set the Modify permission for IIS_IUSRS (IIS user group) and IUSR (default IIS user).
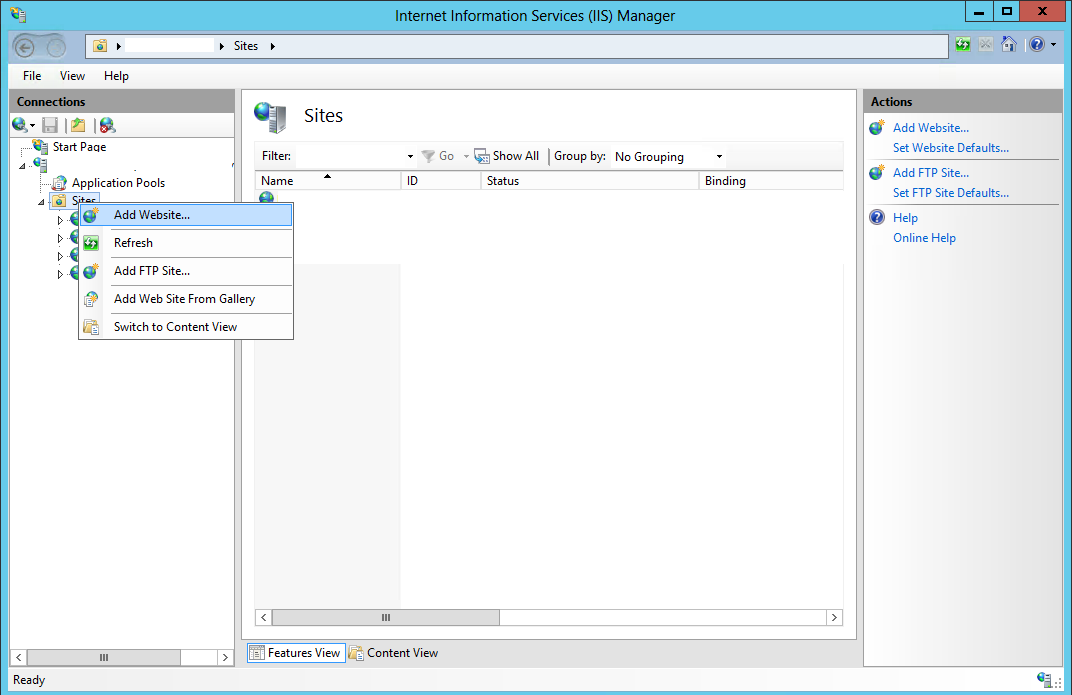
Next, open the IIS Manager and create a new website in your server instance. You can do that by right-clicking Sites in the left pane and choosing Add new website.
Enter your desired website name (this is just for identification within IIS) and point the physical path to the directory we’ve just created. Next, enter the host name your website will be available from. This can be the domain pointing to your IIS machine or a virtual host you’ve created for local development in the system hosts file. Confirm by clicking OK.

Your WordPress instance is already running, but we need to assign the IUSR user to it so our site will have the access rights we’ve just specified. In the left pane, select your newly created website and open Authentication on the right. Edit Anonymous Authentication and set IUSR to be the specific user.

Fix access permission for PHP uploads
At this point our website should be up and ready to run but we need to ensure that IIS has enough access rights to handle PHP file uploads. Otherwise, requests for files uploaded through WordPress will result in an error 500.
The reason for this is that PHP doesn’t set access rights for IIS when moving an uploaded file to the website directory (e.g. /wp-content/uploads). In order to fix this we have to grant Modifyaccess rights for IIS_IUSRS to PHP’s temporary directory (usually C:\Windows\Temp but you can check if your php.ini configuration says otherwise).
Open Properties for C:\Windows\Temp, go to Security and click Advanced. First, click Enable inheritance so access rights can be passed down to files and subdirectories.

Next, select IIS_IUSRS on the user list (or add it if not present) and click Edit. Set the Modifypermission to IIS_IUSRS (IIS user group) and set it to affect only child objects.

Install WordPress on IIS
You can now go to the domain you’ve specified in IIS and check if the website’s running. Open http://yourwebsitedomain/readme.html for instructions on how to install WordPress on IIS.
After installation there are couple of things you might want to configure in order to make the most of your WordPress instance.
Enable permalinks
In order to use the user- and SEO-friendly “Pretty permalinks” feature in WordPress, we need to enable URL rewriting. For this to work you need to have the URL Rewrite module for IIS installed.
Next, we need to create a web.config file in the root directory of our website. Add the following rewrite rule to the webserver configuration:
Fix static file serving
By default, IIS is configured to serve only a handful of static files properly (images, plain text files). If you’re planning to use web fonts, SVGs, videos or PDFs, you should declare them in your web.config file like this:
Enable Caching
Caching can significantly speed up your WordPress website by serving pre-generated content without calling PHP scripts and database queries over and over again. This is easily achieved with WinCache and WordPress plugins.
Unfortunately, installing WinCache extension from the IIS homepage may break WordPress plugin updates. This is easily fixed by installing the latest repo version manually.
Download the latest development version from the WinCache SourceForge and extract it to your PHP extension directory (e.g. C:\Program Files (x86)\PHP\v7.0\ext).
Next, you only need to install a WordPress plugin that will handle the caching. Double-check the plugin platform support! As of now, the popular WP Total Cache won’t work with IIS. We recommend using WP Super Cache instead, as it supports IIS and WinCache.
Check out other iOS development tutorials on our blog.